

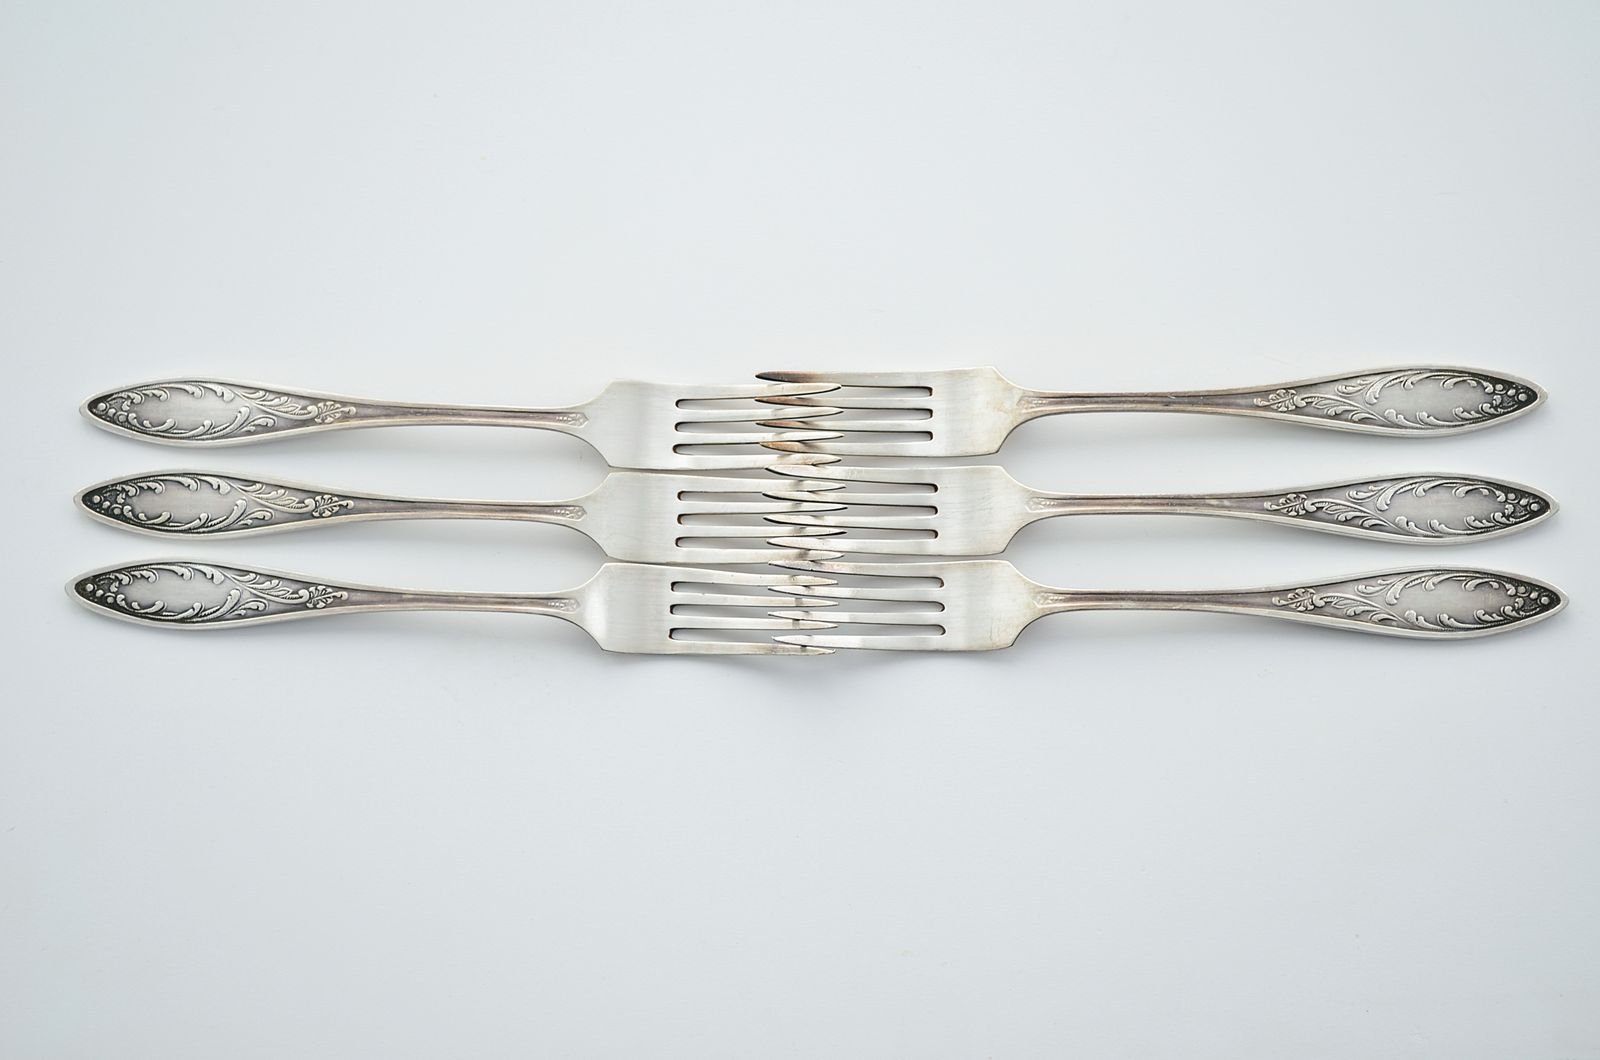
How to Clean Silver and Remove Tarnish Without Damaging It
The answer to how to clean silver safely is the gentlest method: wash it in warm water with a little mild, unscented dish soap, dry it right away, and use a cream silver polish and a soft cotton cloth only where tarnish remains. Every polishing removes a thin layer of metal, so the goal is to take off the tarnish and nothing more. Here is how we would approach flatware, trays and serving pieces before the holidays, plus what to skip and how to keep silver bright longer.
What causes silver to tarnish?
Tarnish is a thin dark film of silver sulfide that forms when silver reacts with sulfur compounds in the air. The Canadian Conservation Institute (CCI) notes that it forms faster when the air is humid, and lists everyday sulfur sources such as rubber bands, latex and rubber gloves, wool and felt, and foods like eggs.
That list explains a lot of household tarnish: the serving spoon that sat in deviled eggs, the flatware held together with a rubber band, the tray stored on a felt-lined shelf. Salt is the other common culprit, which is why salt cellars and salt-shaker tops darken and corrode when salt is left in them.
The good news: according to conservation guidance from the Winterthur Museum, tarnish itself is not damaging. You don’t need to polish silver before putting it away, and you shouldn’t polish more often than you need to.
Is it sterling or silver plate? Check before you clean
Look for marks on the back of handles or the underside of trays before you start. Sterling is often stamped “sterling” or “925”; silver plate is a thin layer of silver over another metal, and it can wear through to the base metal if you polish hard. Hollow handles and joined pieces also need extra care.
- Silver plate: polish lightly and only where tarnish shows. Winterthur’s guidance warns that over-polishing can remove the plating.
- Hollow or weighted pieces (many knife handles, candlesticks, some teapot handles): never soak them. Water and cleaning solutions can get trapped inside, and the joins can loosen.
- Dark detail on purpose: some patterns are darkened in the recesses so the design stands out. Leave that toning alone; you only want to clean the raised surfaces.
- Gilding, wood, bone or ivory-type handles: keep polish off them and don’t wet non-metal parts.
How do you clean silver step by step?
Wash first, polish second, and rinse and dry last. Washing removes grease and food film so you can see how much tarnish is really there; often lightly tarnished flatware needs nothing more than a wash and a buff with a silver polishing cloth. Work on a towel-lined counter so pieces don’t scratch each other.
Supplies: mild, unscented dish soap (skip lemon-scented or citrus formulas), a basin of warm water, soft cotton cloths or a silver polishing cloth, a cream or paste polish made specifically for silver, cotton swabs, and clean cotton or nitrile gloves.
- Put on cotton or nitrile gloves. Skin oils and salts leave fingerprints that tarnish. Avoid latex or rubber gloves, which are themselves a sulfur source.
- Wash. Swish each piece in warm, soapy water and wipe it with a soft cloth. Keep handles made of wood or other non-metal materials out of the water.
- Rinse and dry immediately with a soft cotton towel so water doesn’t spot the surface.
- Buff light tarnish with a silver polishing cloth. Stop here if the piece looks good.
- Polish what’s left. Apply a small amount of silver cream or paste to a soft cloth and work it over the tarnished area with light, small circular strokes. Turn the cloth to a clean section often, because the black residue you pick up is abrasive. Use a cotton swab for the area between fork tines and around raised patterns.
- Rinse off every trace of polish in clean water (or wipe it off thoroughly if the piece can’t get wet), then dry and buff with a fresh cotton cloth.
Do this in a ventilated room, and never combine a silver polish or dip with any other cleaner.
What’s the best way to remove heavy tarnish?
For heavy, even tarnish, patience with a dedicated silver polish is still the safest choice: several light passes instead of one hard scrub. Conservators at the CCI warn that general multi-purpose metal polishes remove more silver, and Winterthur notes that polishes made for brass or chrome are too abrasive for it.
A few details make a real difference:
- Use fresh polish. CCI notes that polish left open or allowed to dry out becomes more abrasive. Close the lid between pieces.
- Watch for green residue. Many commercial polishes contain ammonia, which CCI says can leave a green residue in crevices. Rinse patterned pieces thoroughly.
- Skip household abrasives. Toothpaste, baking-soda scrubs and scouring pads scratch the surface and dull the shine.
- Be cautious with dips. Liquid tarnish removers work by dissolving tarnish, but they also attack the silver, are hard to control, and can leave an unnatural color, according to Winterthur’s guidance. CCI adds that they can harm stainless steel knife blades and wood. If you use one, apply it with a cotton swab to a small area, rinse it off right away, and never submerge hollow or weighted pieces.
Does the baking soda and aluminum foil method work?
It does remove tarnish, but it isn’t a shortcut to a good finish. The foil method sets silver against aluminum in a warm alkaline solution (washing soda), turning the tarnish back into silver. CCI notes that it leaves a dull, matte surface that still needs gentle polishing, and that pieces may tarnish again faster afterward.
It also involves full immersion, so it is not suitable for hollow handles, weighted candlesticks, glued joins, or anything with dark toning you want to keep. For everyday sterling or plated flatware you’re willing to treat as a batch, it can loosen heavy tarnish; for heirlooms, a cream polish gives you far more control.
Can silver go in the dishwasher?
It’s better not to. Silver dealer Spencer Marks advises hand washing and points out that dishwasher detergent can be abrasive and chlorine can cause yellowing. If you do use the dishwasher, use a gentle cycle and a non-acidic liquid detergent, keep silver away from stainless steel so the two don’t stain each other, and hand-dry it afterward.
Some pieces should never go in at all: knives with antique handles (Spencer Marks names pre-1970 handles) and carbon steel blades. If dishwasher film or hard water spots are part of the problem, our guide to cleaning a dishwasher, filter and spray arms covers the machine side.
How do you keep silver from tarnishing?
Keep silver dry, covered and away from sulfur. Using it and washing it by hand is part of the care, but between uses, store it in anti-tarnish cloth, a lined silver chest or drawer, or sealed polyethylene bags, kept somewhere dry. Conservators recommend keeping humidity below about 50 percent where you reasonably can.
- Wash soon after using it, especially spoons used with eggs or salt.
- Dry completely before storing. Our tap water is hard across much of the area, so drying right away also prevents mineral spots; our guide to hard water stains around the house explains why.
- Wrap, don’t bind. CCI rates anti-tarnish silver cloth as the most effective wrap. Acid-free tissue inside a sealed polyethylene bag also works. Never use rubber bands, and avoid wrapping silver in commercial plastic wrap.
- Anti-tarnish strips can go in the same bag or drawer, but Winterthur advises keeping them from touching the silver directly.
- Empty salt cellars after every use and wash them, including under any glass liner.
When should you call a silversmith instead?
Stop and get professional help for valuable antiques, pieces with gilding or inlay, loose or rattling handles, cracks, dents, or worn plating where the base metal shows through. Polishing can’t fix those problems, and aggressive cleaning can make repairs harder or lower an heirloom’s value. A silversmith or conservator can advise on cleaning, repair or replating.
Getting silver ready for Thanksgiving and holiday hosting
Polish a few days before the meal, not the morning of. Once pieces are clean and dry, wrap them or put them back in their chest until you set the table; they’ll stay bright. Wash everything by hand the same night, especially anything that touched eggs, gravy or salt, so tarnish doesn’t set in before you put it away.
The table it sits on matters too. If your dining table needs attention, see our guide to cleaning wood furniture without damaging the finish, and for the kitchen side of holiday cooking, cleaning out the refrigerator before the groceries arrive saves a lot of shuffling.
Where a house cleaning fits
Polishing silver isn’t part of our cleaning checklists; it’s careful, item-by-item work best done by you or a silversmith. What our Vetted Cleaning Professionals do handle is the rest of the house around it. On a standard visit, our cleaning checklists include wiping accessible dining table and chair surfaces and dusting furniture and shelving. A deep cleaning goes further, with detailed cleaning of accessible dining furniture, shelving and fixtures, which is useful before a houseful of guests.
Suddenly Clean is licensed and insured, and you see your exact flat-rate price online before you book. Suddenly Clean serves homes throughout East County and surrounding San Diego communities. If your ZIP code is accepted, we currently service your area. You can check availability and pricing on our booking page.
Comments are closed